
Start with one dedicated folder
Create a folder such as Screenshots inside Pictures or Documents. Press Shift–Command–5, open Options, choose Other Location, and select that folder. New screenshot files will go there; existing files will stay where they are.
Let time do most of the sorting
Screenshot work is usually recent-first. In Finder, use List view and sort by Date Created with the newest file at the top. This is often more useful than building a deep folder hierarchy for images that may only matter for a day or two.
Preview before renaming
macOS screenshot filenames contain a date and time, but that rarely tells you what is inside. Select a file and press Space for Quick Look. Use the arrow keys to move through nearby files until you recognize the right image.
Rename only the screenshots worth keeping
Renaming every capture creates more work than it saves. Rename a screenshot when it becomes a durable reference, belongs to a project, or will be shared outside its original context. Leave short-lived captures ordered by date.
Keep recent shots close without covering the Desktop
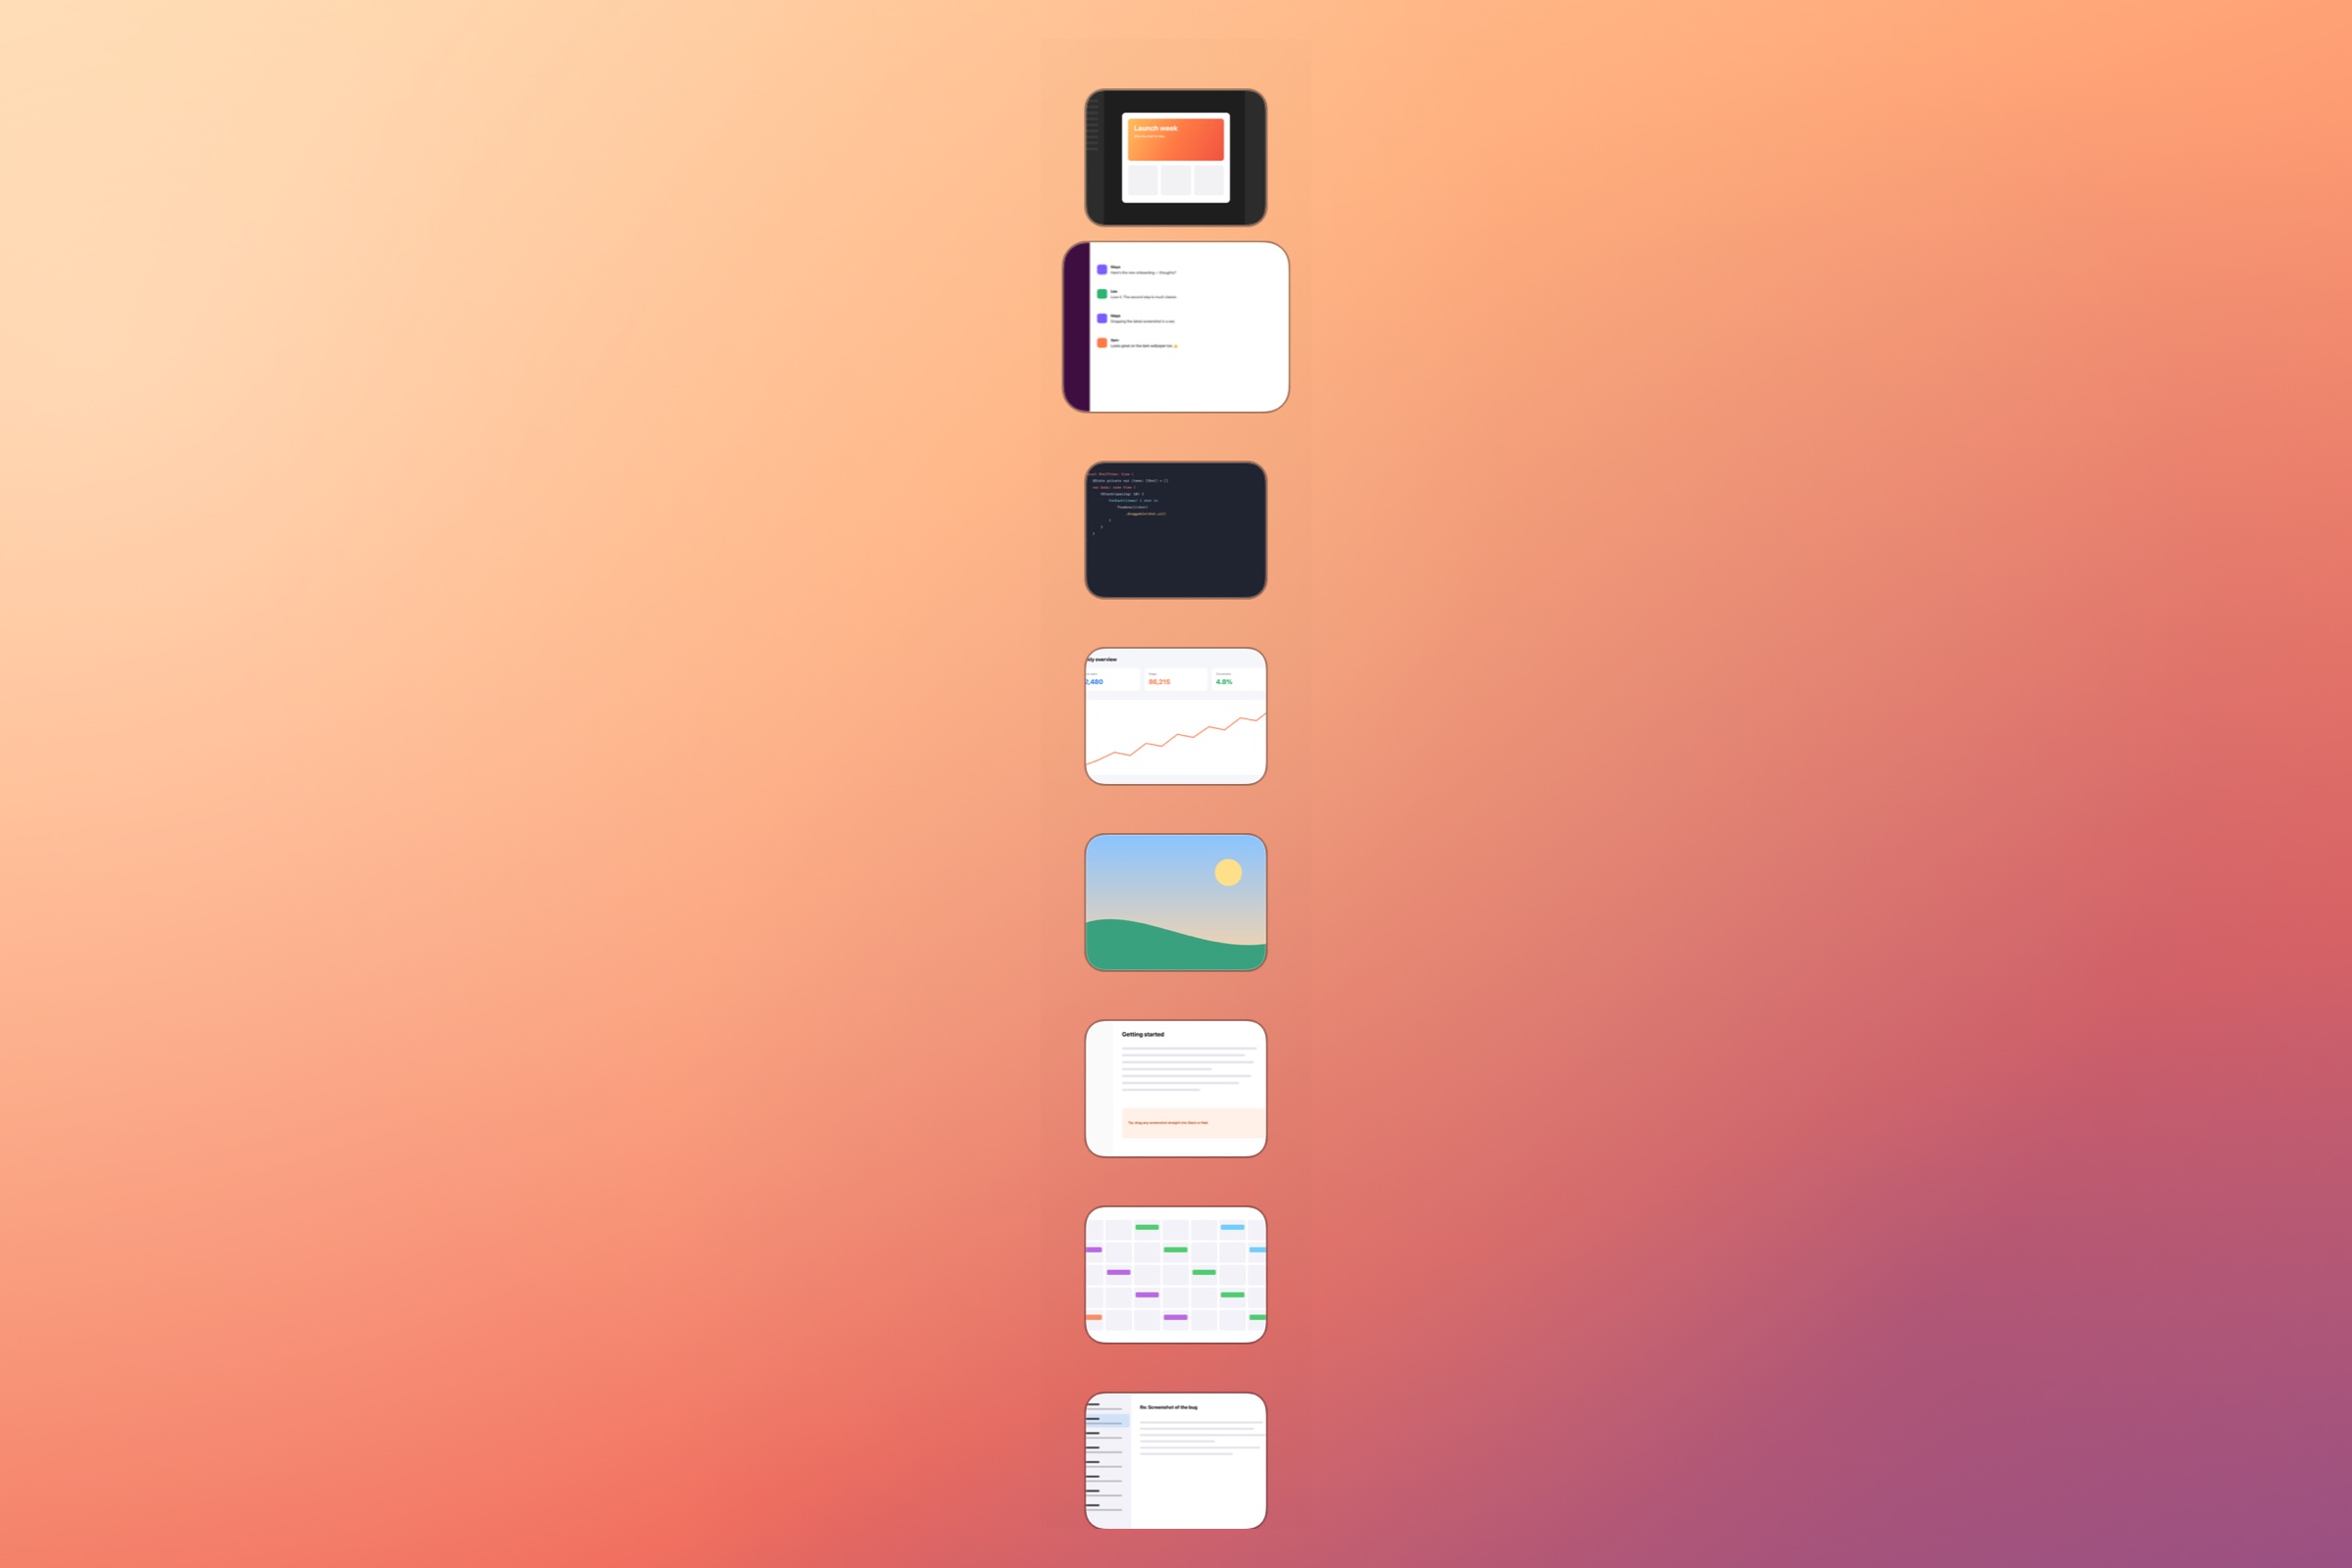
A screenshot shelf can surface recent files from your chosen folder while leaving the originals in place. Flowsill Shot shows saved captures in a small desktop corner, lets you recognize them visually, and supports Quick Look, copy, and drag into apps that accept image files.
Flowsill Shot does not move, rename, delete, or upload the files. It is a working view of screenshots in the folder you choose, not a replacement for Finder or a backup.
Review the folder on your own schedule
There is no need to stop after every capture and tidy it. A quick weekly review is enough for many workflows: keep useful references, move project material where it belongs, and remove files you no longer need using Finder.